
Appearance
First Run Walkthrough
Get Agentcy running in under 5 minutes. Choose the path that fits your setup.
Prerequisites
| Requirement | Version | Required? |
|---|---|---|
| Docker & Docker Compose | 24+ | Yes (for infrastructure) |
| Node.js | 20+ | Yes (for frontend dev) |
| Rust toolchain | 1.75+ | Optional (only for backend dev) |
| An LLM API key | — | Required for AI chat (Anthropic or OpenAI) |
No Rust Required
If you just want to run Agentcy, Docker handles everything. You only need Rust installed if you plan to modify the backend code.
Choose Your Path
Path 1: Docker Compose (Recommended)
The fastest way to get everything running locally.
Step 1: Get the release tarball
Agentcy is closed-source. Request access via agentcylabs.com — you'll receive a signed release tarball along with deployment notes. Unpack it:
bash
tar -xzf agentcy-<version>.tar.gz
cd agentcy-<version>Step 2: Configure environment
bash
cp .env.example .envEdit .env and set your LLM API key:
bash
# At minimum, set one of these:
ANTHROPIC_API_KEY=sk-ant-your-key-here
# or
OPENAI_API_KEY=sk-your-key-hereStep 3: Start infrastructure
bash
make infraThis starts PostgreSQL (port 15432), Neo4j (port 17687), and Redis (port 16379) in Docker containers. Neo4j powers the Basic Context Engine — the default for all self-hosted deployments.
Step 4: Start the application
bash
make devThis runs:
- The Rust backend API on
http://localhost:18080 - The Next.js frontend on
http://localhost:3000
Step 5: Open Agentcy
Navigate to http://localhost:3000 in your browser. Log in with the default credentials:
| Field | Value |
|---|---|
admin@localhost | |
| Password | admin |
Change Default Credentials
The default admin account is intended for development only. Change the password immediately in production, or switch to OIDC authentication.
Step 6: Connect your first data source
- Go to Connectors in the sidebar
- Click Add Connector
- Choose a source type (e.g., GitHub PAT)
- Enter your credentials
- Click Create — the connector validates your credentials before saving
- Click Sync to ingest data into the knowledge graph
Step 7: Start chatting
Go to Chat in the sidebar and ask the agent about your connected systems:
What repositories do I have connected? Show me the most active ones.Path 2: Desktop App (macOS)
For individual use or demos, the Tauri-based desktop app bundles everything.
Step 1: Request a Desktop build
Visit agentcylabs.com to request a signed Desktop .dmg. You'll receive download instructions by email.
Step 2: Install and launch
Open the DMG and drag Agentcy to your Applications folder. Launch the app.
Step 3: Complete the setup wizard
The wizard runs on first launch with three modes:
| Mode | What It Does |
|---|---|
| Quick Setup | Pulls and starts Docker containers for Postgres, the Basic Context Engine (graph store), and Redis automatically |
| Custom Local | Bring your own infrastructure — point to existing database instances |
| Cloud Deploy | Connect to a remote Agentcy deployment (Railway, Fly.io, AWS, K8s) |
The wizard guides you through:
- Infrastructure setup (databases)
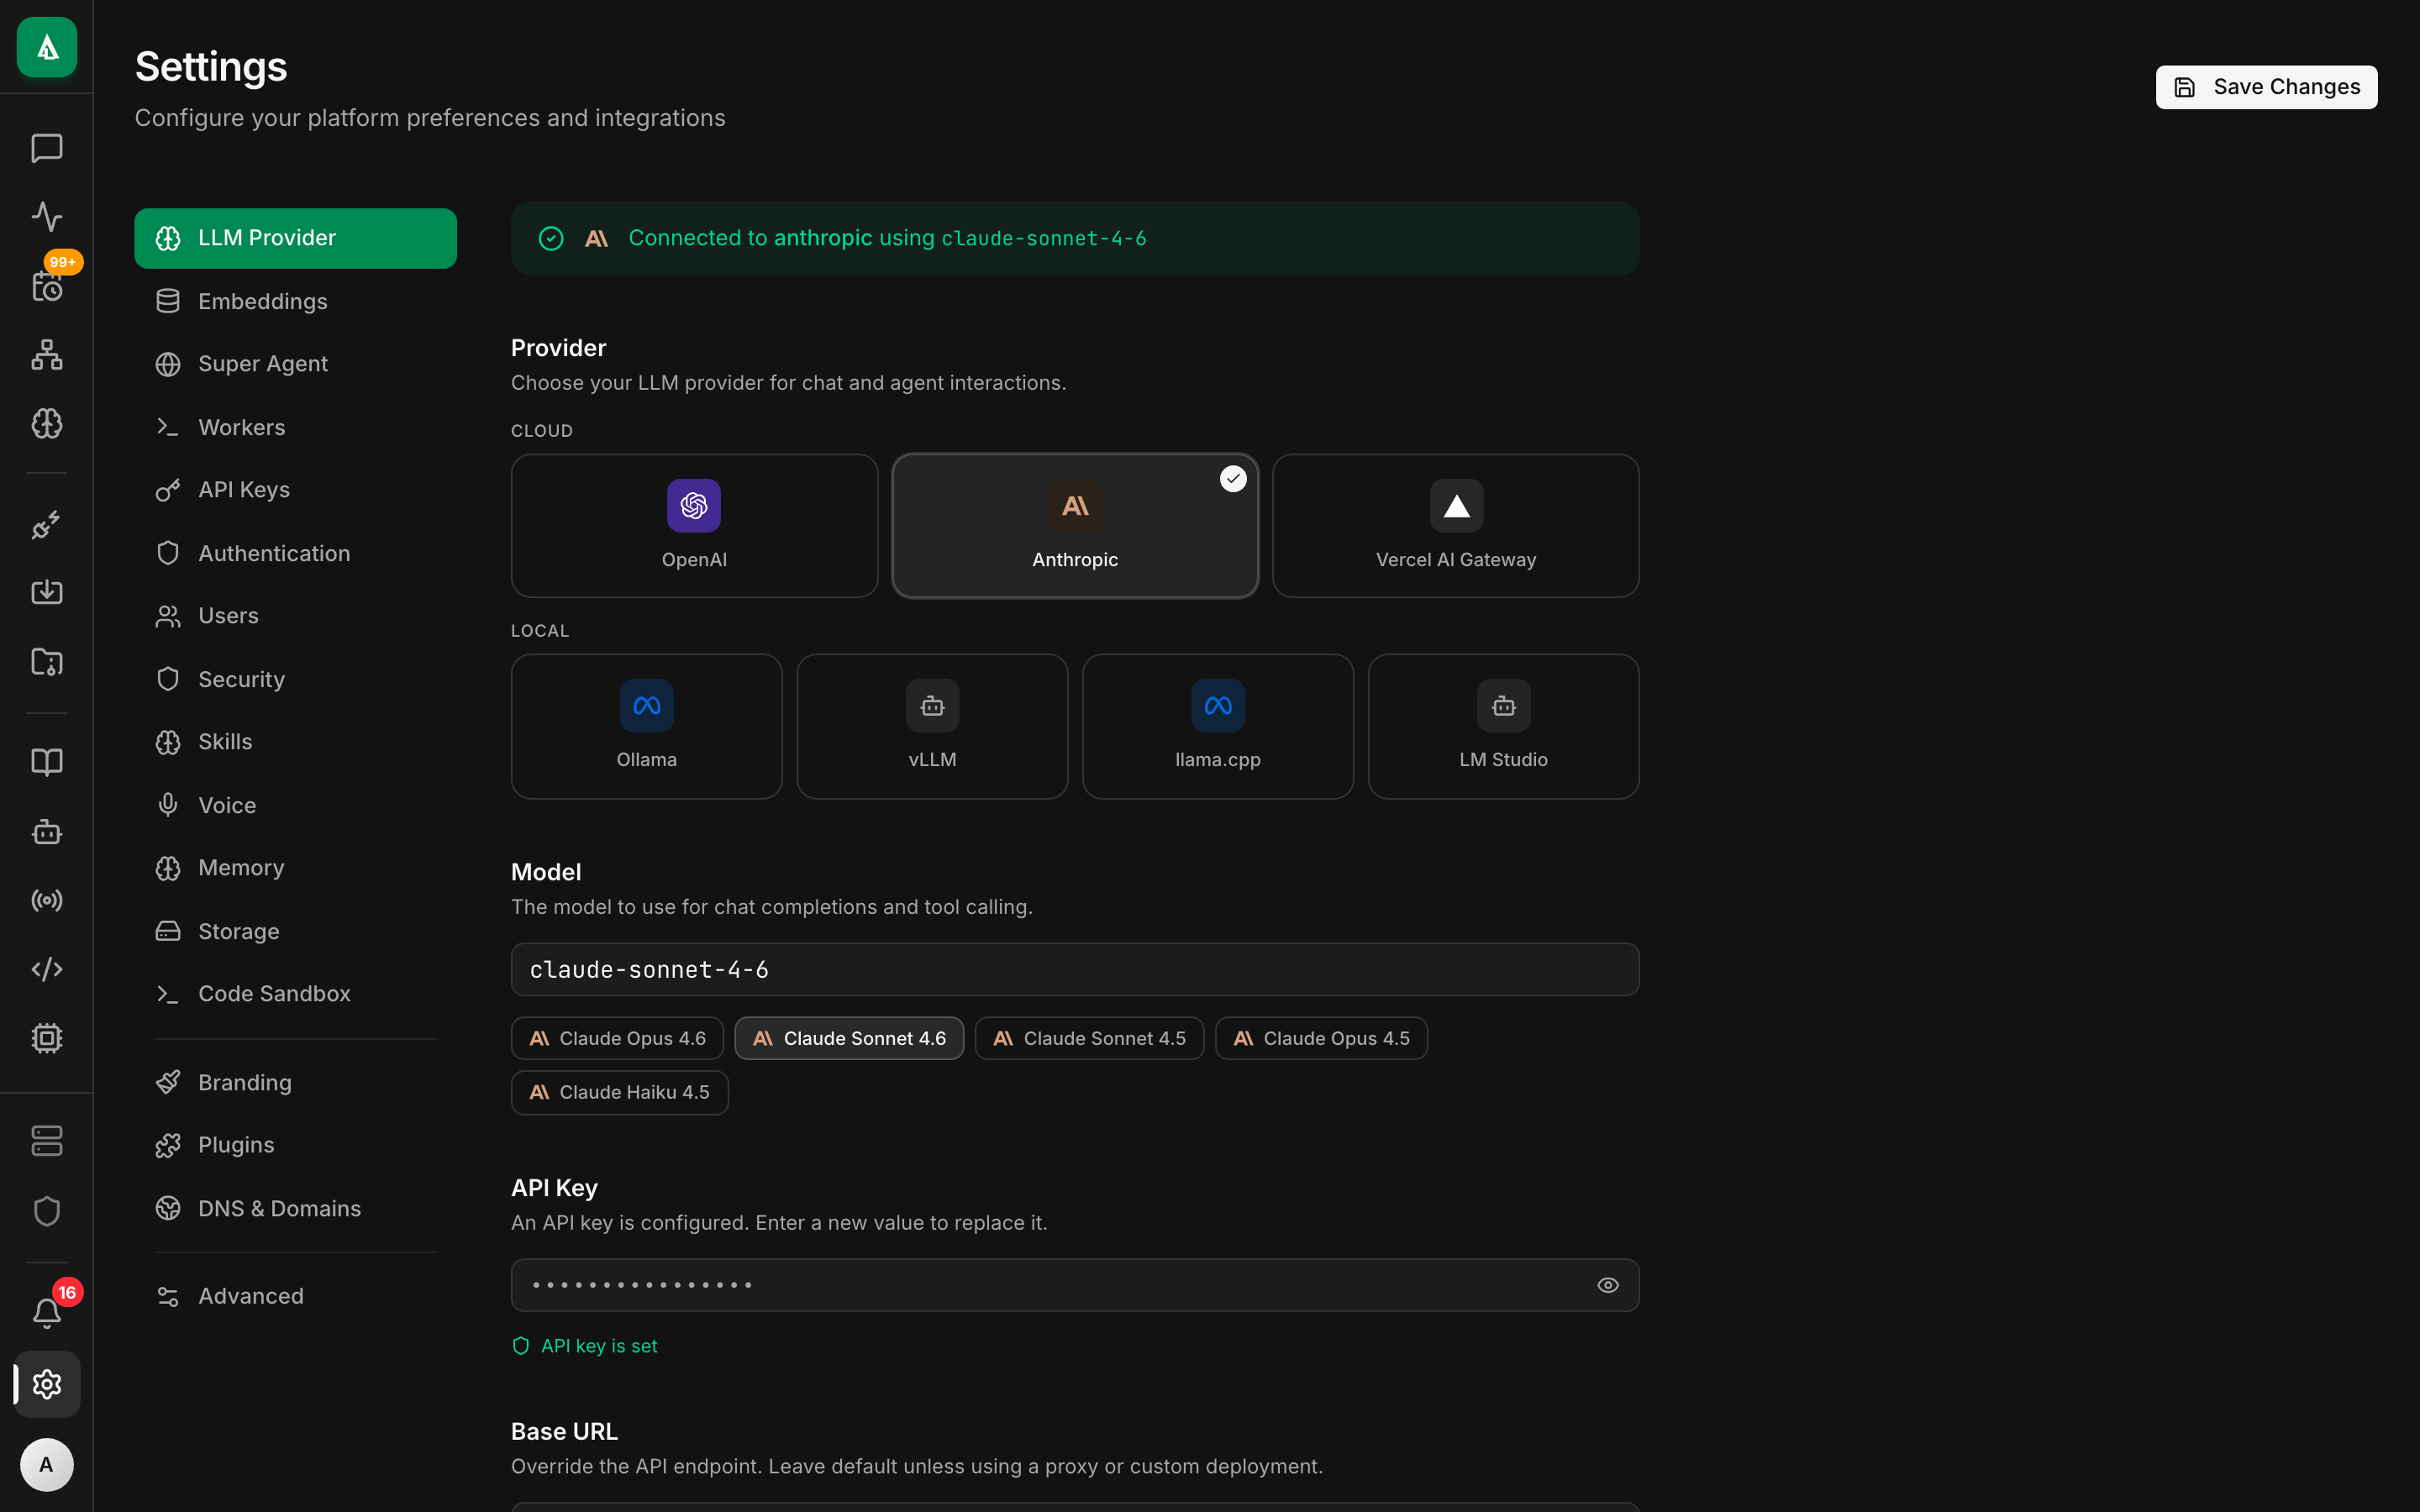
- LLM provider configuration
- Authentication setup
- First connector
Step 4: Start using Agentcy
The app opens to the main dashboard. Your configuration is saved at:
~/Library/Application Support/com.agentcy.desktop/config.jsonWhere are the logs?
Desktop app logs are written to ~/Library/Logs/Agentcy/. Check these if the app or backend sidecar fails to start.
Path 3: Cloud Deploy
Deploy Agentcy to a cloud platform for team access.
Quick Cloud Options
See the full Deployment guide for detailed instructions on each platform.
Railway (fastest)
bash
# Install Railway CLI
npm install -g @railway/cli

# Deploy from the repo
railway init
railway upDocker Compose on a VM
bash
# On your server, after unpacking the release tarball you received from AgentcyLabs:
cd agentcy
cp .env.example .env
# Edit .env with production values
docker compose up -d --buildKubernetes / Helm
bash
helm repo add agentcy https://charts.agentcy.dev
helm install agentcy agentcy/agentcy \
  --set anthropicApiKey=sk-ant-... \
  --set auth.provider=oidc \
--set auth.jwksUrl=https://your-tenant.auth0.com/.well-known/jwks.jsonVerify Your Installation
Run the built-in status check:
bash
make statusExpected output:
=== Service Status ===
Backend:  healthy
Frontend: healthy
NAMES                STATUS
postgres             Up 2 minutes (healthy)
neo4j                Up 2 minutes (healthy)
redis Up 2 minutes (healthy)You can also hit the health endpoint directly:
bash
curl http://localhost:18080/healthWhat to Do Next
| Goal | Guide |
|---|---|
| Understand the architecture | Core Concepts |
| Fine-tune your setup | Configuration |
| Set up authentication | Authentication |
| Connect data sources | Connectors Overview |
| Explore the knowledge graph | Knowledge Graph |
| Build workflows | Orchestration |
| Deploy to production | Deployment Overview |